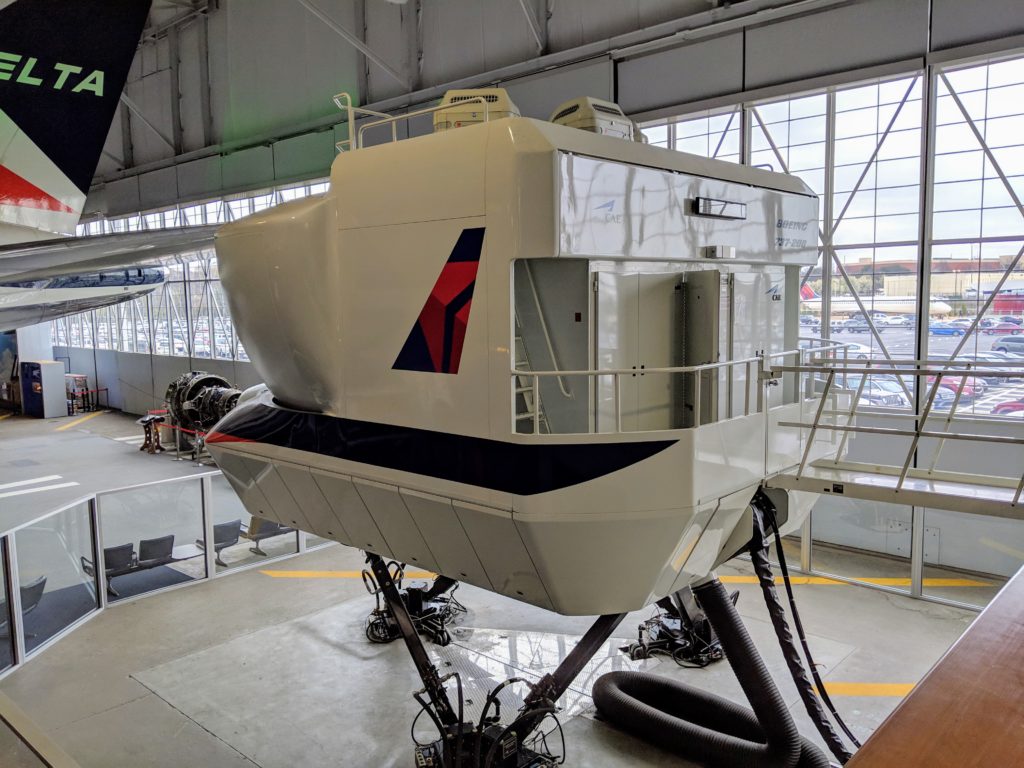
Full motion flight simulators are massively expensive pieces of equipment, but for an airline it’s the most cost effective way to train new flight crews before they ever touch the controls of a real aircraft. These simulators use the same controls and instruments as the actual aircraft and are supported on hydraulic actuators that allow the simulator to move and make you feel like you’re actually flying an airplane. It’s probably as close to flying one of these beasts as the average aviation nerd will get, and there’s only one place that rents one by the hour to the general public: the Delta Flight Museum.
Once upon a time Delta Air Lines flew the Boeing 737-200 aircraft in their fleet, and therefore needed a way to train their pilots. This simulator was purchased and installed at their training facility and spent many years helping new pilots get their wings and older pilots knock the rust off their emergency procedures checklists, but like all things it eventually became outdated and unused. Instead of scrapping the simulator or selling it to another company that still flies that type of aircraft Delta decided to donate it to the Delta Flight Museum, a not for profit entity that is charged with preserving the history of the airline, and they spent considerable time and effort installing it in their hangar and refurbishing it for use.
That decision makes this one of the only full motion flight simulators open to the public in the world. And I just had to try it out.
I’ve flown a 737 full motion simulator before, through the Airline Training Orientation Program that takes advantage of unused hours at American Airlines’ flight training facility. But that’s a program that is specifically geared towards pilots and includes a large volume of very technical training. Here, the simulator is open to everyone and doesn’t require anything more than a 15 minute briefing.
Things to Note
While this is a fully operational Level D simulator that meets the requirements for logging time set by the FAA, you CANNOT log the hours you spend in this simulator. It is fully functional, but the equipment and staff lack the certifications needed to make it a proper training experience.
Also, booking the simulator does not include access to the museum. You will need to purchase a separate entrance ticket for each person in your group.
Booking the Simulator
There are four slots a day available in the simulator pretty much every day of every week. A calendar is posted on their website and you can book the experience through there.
At the time of writing the price for an hour of sim time (well, 45 minutes of actual flight) is $425 including all applicable taxes and fees. That’s the cost of the hour, how you choose to split it is up to you. If you want to go solo that’s cool, or you can bring up to three other people and split the cost.
Compared to the ~$500 per person for roughly 20 minutes of hands-on-stick time through ATOP it’s a steal.
Once booked you will get a confirmation through email which you will need to bring with you on the day of the event.
Arrival and Paperwork
When you get to the Delta Flight Museum you’re going to need to buy your admission ticket and fill out some paperwork.
The front side of the questionnaire asks about what you want to do in the simulator. Which airports do you want to fly to and from? Anything special you want to do? If you don’t have something already picked out the sim operators will happily provide a suggestion, but if there’s something you absolutely want to do then make sure you write it down.
The other side is the usual liability waiver.
Once the paperwork and payment is taken care of all that’s left to do is to wait for the sim to be ready. In the meantime you can wander around the museum and enjoy all the old aircraft in the hangars.
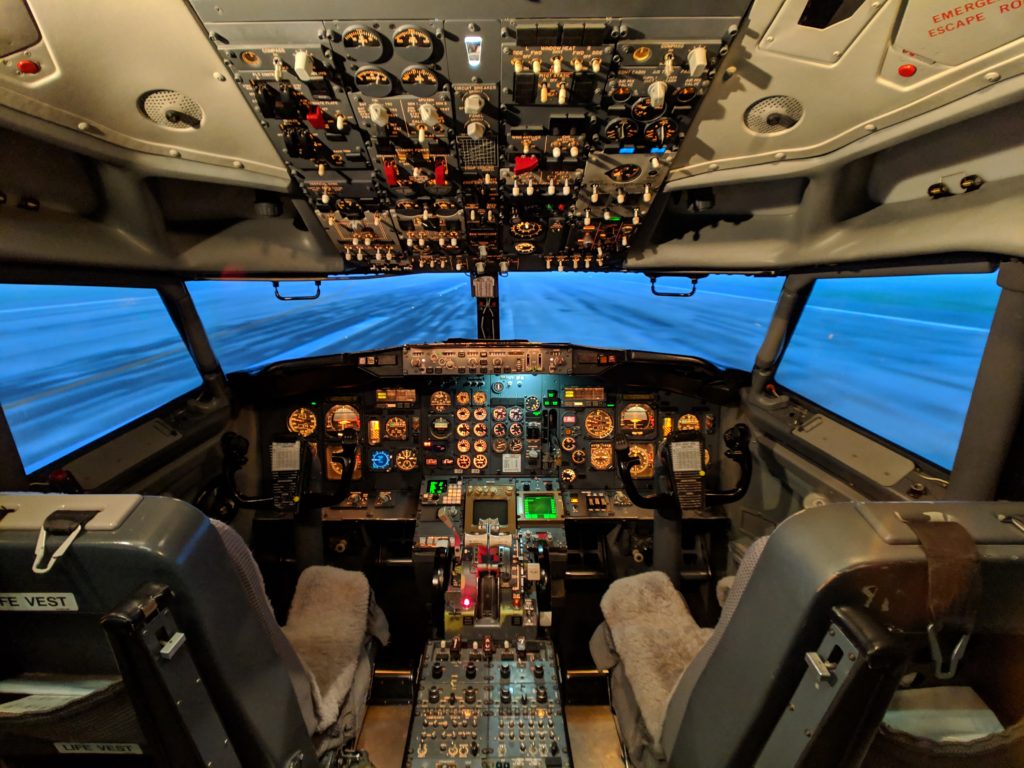
The Experience
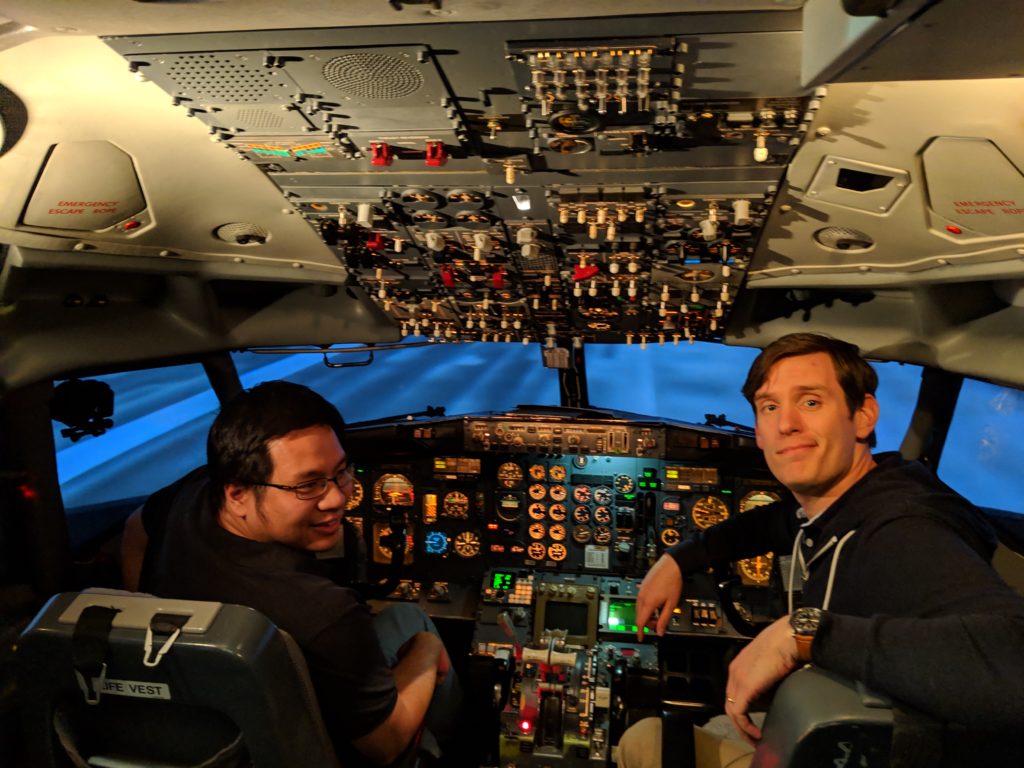
Our experience will probably be a little different from the typical aviation nerd, since the friend I brought and myself have both done the ATOP 737 program and had some solid classroom time on operating the aircraft. For us the sim operator gave us a five minute overview, some basic speeds to keep in mind, and then we were off to the races.
For our flight, we did a couple things:
- Expressway Visual into LGA
- River Visual into DCA
- LDA Approach into HNL
- Visual into OAK
- Visual into SFO
- ILS to Minimums at SFO
Honestly the landings started out a little rough, but after the first attempt we were getting back into the hang of things.
Tip:
For your first landing, ask to be put on short final to some airport with a long runway. Getting a practice landing to get the feel of the aircraft will make your experience WAY more enjoyable.
At the end of the experience the only thing we regretted was that we didn’t pay for two hours so we could just stay there and keep flying around.
The only thing that would have made this better was if the hours were loggable. I’d like to get credit for the ILS approach, but I’m happy just having the memories.